TM 11-6625-2629-14&P
7-18. Replacement of Connector Housing
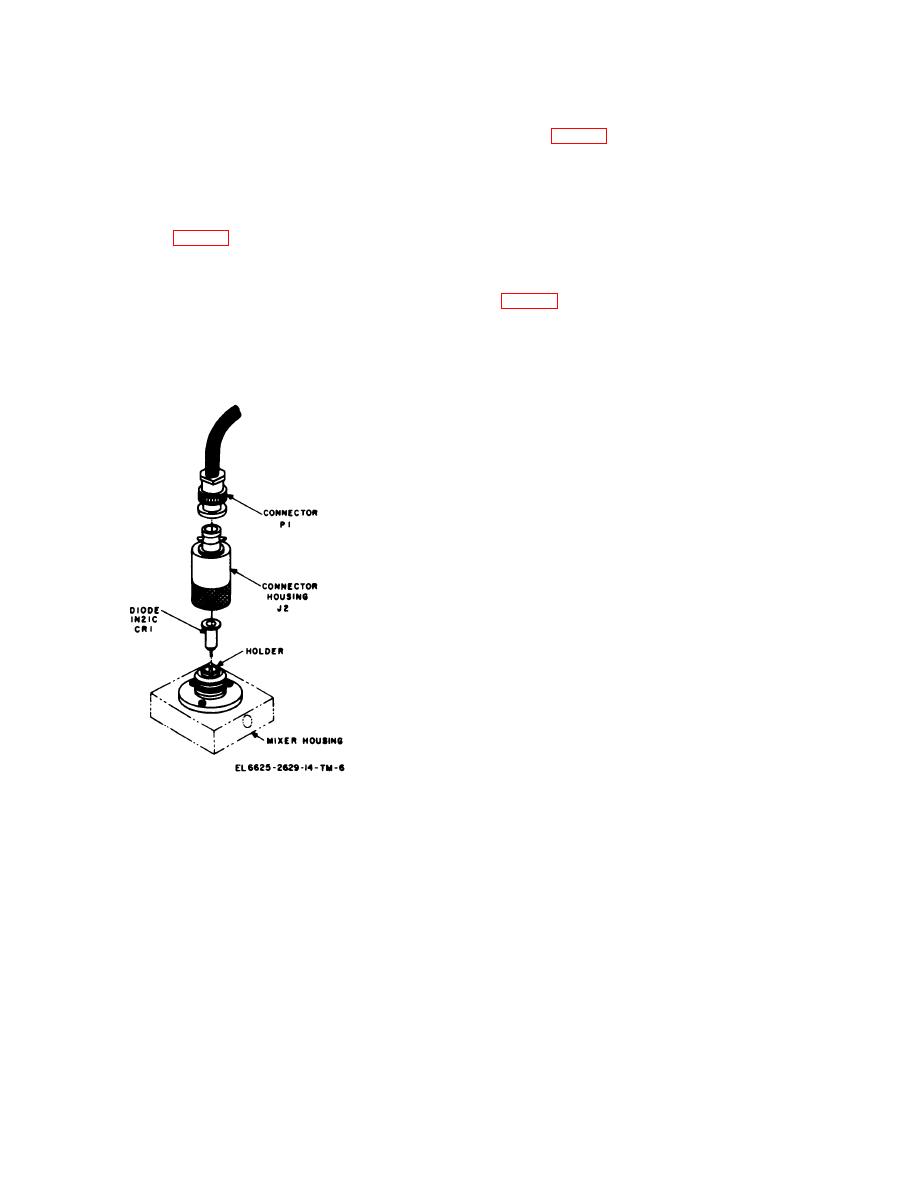
7-17. Replacement of Semiconductor Diode CR1
CAUTION
a. Disconnect the cable at the mixer housing
DO NOT hold CR1 by both ends at the
connector P1 (fig. 7-7).
same time. Static dischargee can break
b. Unscrew the connector housing J2 by
turning it counterclockwise.
down the elements of this diode. When
removing or inserting CR1, hold one
c. Screw the new housing J2 in place by turn-
finger on the crystal-holder.
ing it clockwise.
a. Disconnect the cable at the mixer housing
d. Reconnect the cable to the new housing.
connector P1 (fig. 7-7).
7-19. Replacement of Power Plug UP131M
b. Unscrew the connector housing J2 by
a. Remove the old plug UP131 M from the
turning it counterclockwise.
power cord by taking out the the screws as
c. Pull the semiconductor out of its retainer
shown (fig. 7-8).
and replace it with a new one.
b. Prepare the cord as shown. Crimp the spade
c f . Screw the connector assembly onto
lug to green lead.
the mixer until it is snug. DO NOT use any tools
c. Fasten the connectors to the plug. Be sure
to tighten the assembly to the mixer.
that the green lead is the ground connection.
c. Connect the cable.
Figure 7-7. Replacement of diode CR1.
7-14


