TM 11-6625-298-14
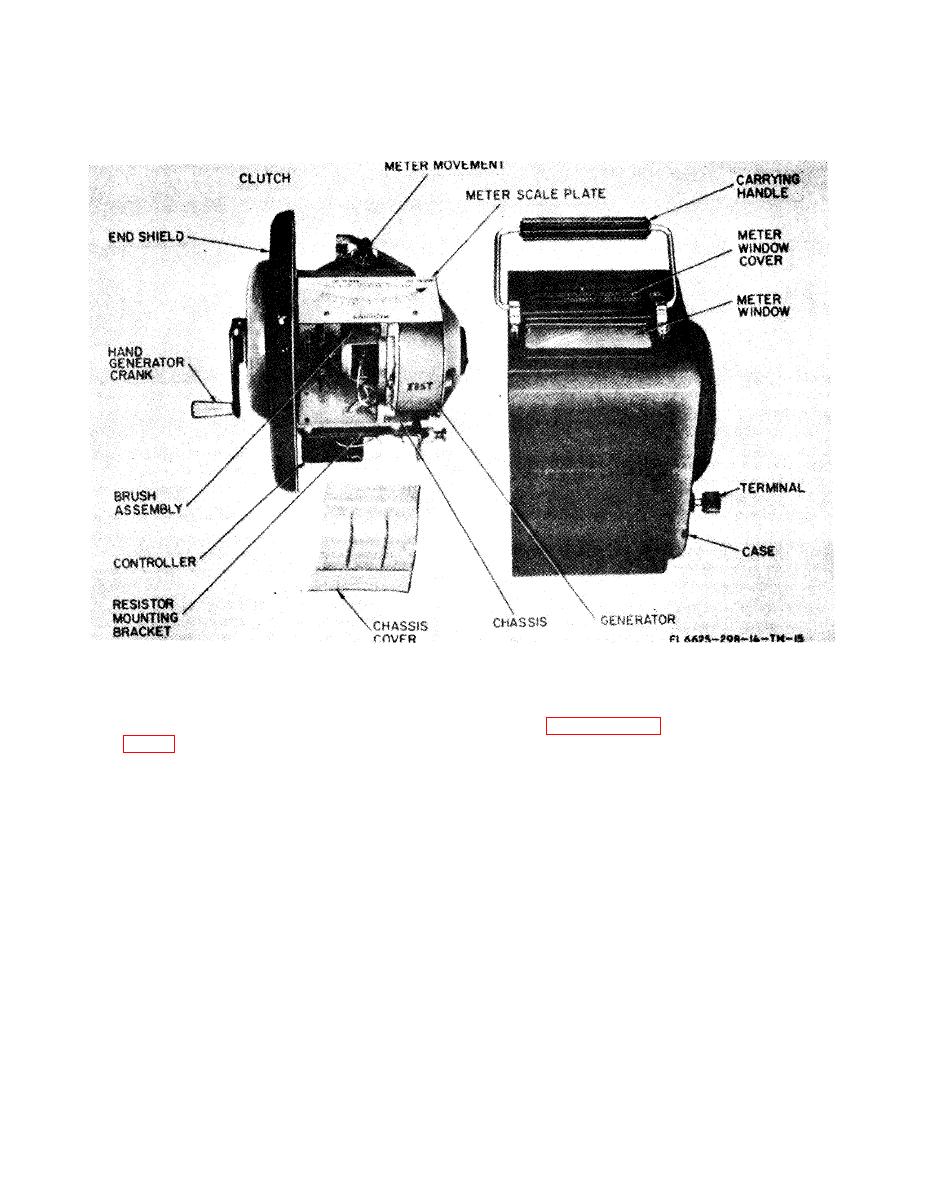
b. Removal of Chassis Cover.
(5) Inspect for loose or missing screws.
(6) Operate the unit according to the
(1) Remove the screw in the chassis directly
procedure paragraph 2-4b. This should provide
in front of the small recessed portion of the chassis
an indication as to any trouble which might be
cover (fig. 6-3).
NOTE
present.
d. Reassembly of Equipment.
Older models have a cover secured by four
small screws.
(1) Replace the chassis cover by pushing it
(2) Gently pry up the cover on one side. The
gently into place.
(2) Replace the screws on the chassis in front
cover will snap out of the chassis.
of the chassis cover.
c. Inspection. Make a preliminary inspection of
(3) Seat the gasket on the ridge on the inside
the equipment to determine the extent of repair
face of the end shield. If the gasket is damaged
necessary.
replace it with a new one.
(1) Inspect for broken insulation connections
(4) Grasp the crank handle and carefully
to terminals and other parts.
(2) Check for defective soldered connections.
insert the chassis into the case.
(5) Replace the four screws on the end shield
(3) Examine wiring to see that no bare wire is
and tighten them securely.
touching other wires or chassis.
(4) Test operation of the hand generator by
turning the crank; the shaft should move freely
and smoothly.


